| topics |
| back to shop |
| home |
| |
| shop: mallet |
|
In the process of learning to carve letters, I was using a beech-wood mallet that I received as a gift. It is a 20oz mallet with a 4.5" head. This was much too large for the work I was doing - carving 1" letters with small (5") chisels. After checking the price online ($15 for a mallet?), I decided a few oak scraps would work nicely. I started by tapering a handle on my taper sled. I wanted to emulate the design of the mallet I already had - with a tapered handle and tapered mortice in the head. I didn't have a block of wood thick enough to make the mallet head - and even if I did, cutting a 2" deep tapered through-mortise without a mortising machine or drill press didn't sound promising. Instead, I laminated some scrap oak with a tapered space for the handle built-in. Next, I laid down a long scrap as the bottom face. Then I applied glue to two middle pieces and fitted them around the handle, making sure not to get glue on the handle (in this design, the handle is "loose" form the head and the centripetal force in each swing keeps the head tight on the handle). 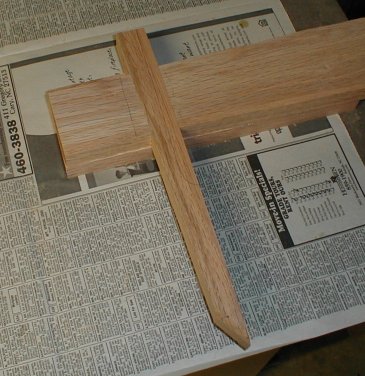 After fitting the middle-layer pieces around the handle, I removed the handle and applied glue to the top of the middle-layer peices. Finally I added the other outside face, being very careful not to move the middle-layer pieces. 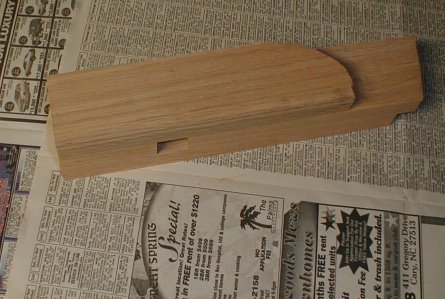 After the assembly dried, I cut the head to shape using the taper sled again. Here it is after checking the fit on the handle: 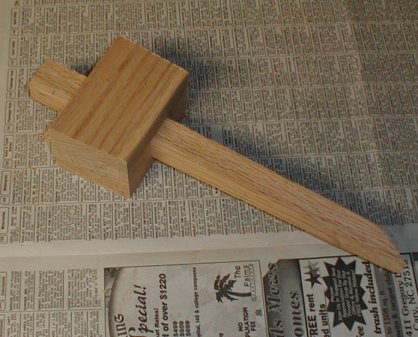 After trimming the handle to size, rounding the handle edges and beveling the edges of the head, here is the finished product: 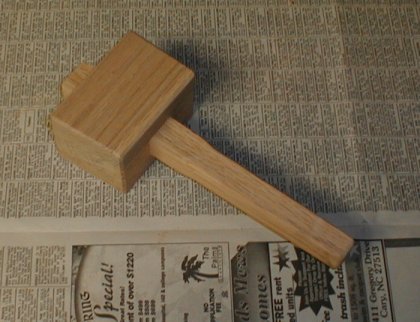 |
