| topics |
| back to projects Part 1 Part 2 Part 3 |
| home |
| |
| sawdust: projects |
|
Mobile Base for 15" Planer
27 Jun 2009 Mobile Base for 15" Planer, part 3 - extension tablesI constructed the
extension tables (infeed and outfeed) using a torsion box design. I
don't expect the tables to take much abuse but seasonal stability is
crucial, so I chose MDF for the construction. The top is covered with
plastic laminate - for smooth sailing of rough-cut lumber.I started by assembling an open box (open on the bottom). I used a 4' rule and winding sticks to ensure it was straight and level. 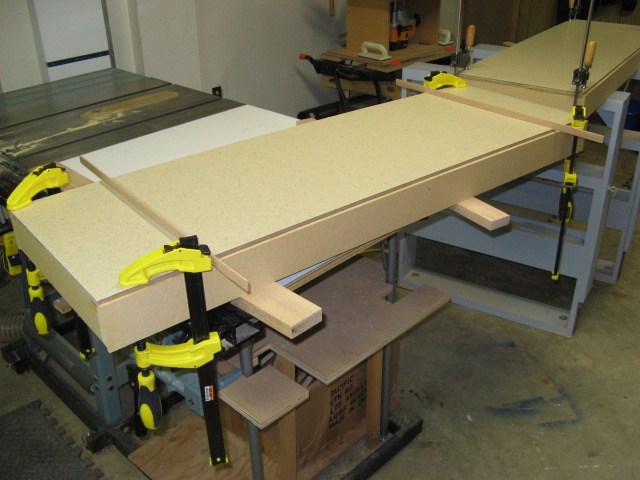 Next I added the grid: 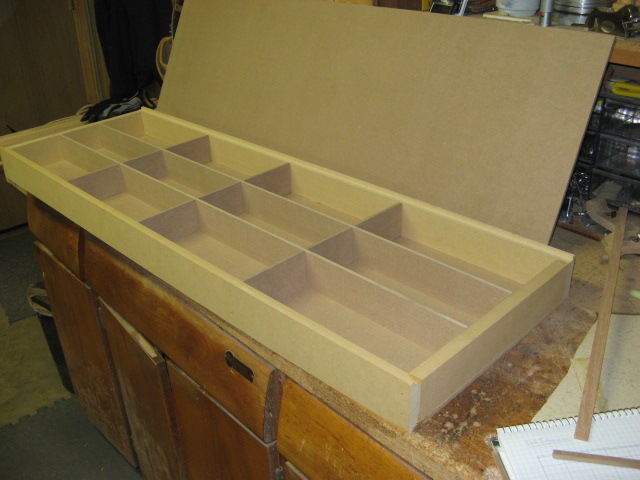 then the top and a few clamps and cauls: 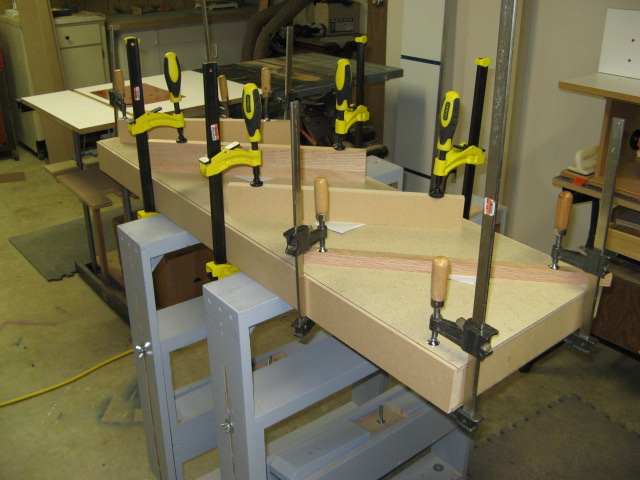 With the tables assembled, it was time to build the support and locking mechanism - the parts that would let the tables be easily stowed when not in use. I had sketched several designs, but waited until I had the stand and tables done to make the final design decisions. The final design worked out even better than I had hoped. As you may have seen from the video, it takes only a few moments to extend the tables and lock them into place. Here is a picture from below the table that shows the locking mechanism. The green in the background is the base of the planer. The center piece (with 2 black screws visible) holds the table in place until the toggle clamps lock it against the planer base. The two hex-head bolts (silver) adjust the height of the table to match the planer bed. 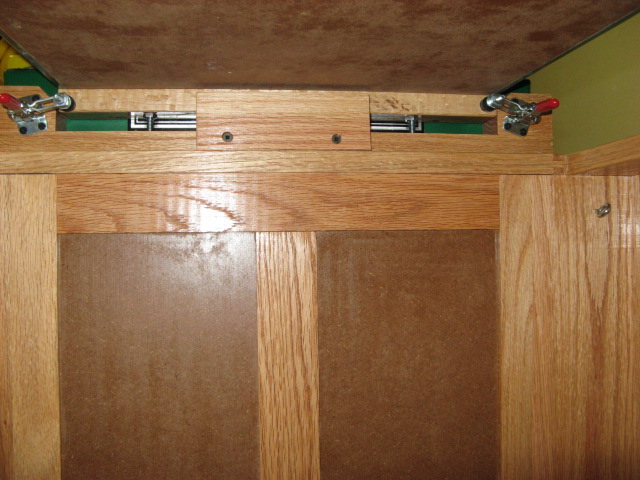 The tables are supported by a 2-leg frame that is hinged at both ends. The bottom of the legs attach to a support member and to adjustable blocks at the top end. 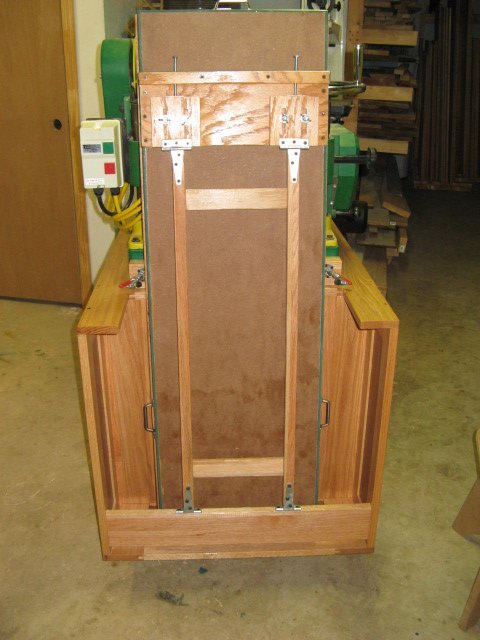 A closer look shows the bolts that are used to adjust the "length" of the legs. The length of the legs don't change, of course, but changing the position of the hinge has the same result - adjusting the bolts changes the height of the outer ends of the tables. This adjustment ensures the tables are co-planar with the bed of the planer. 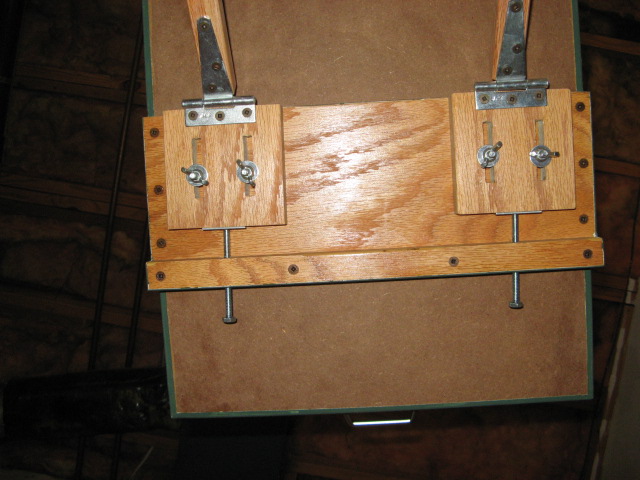 To level the tables with the planer bed, simply loosen the wing nuts, adjust the bolts and tighten the wing nuts: 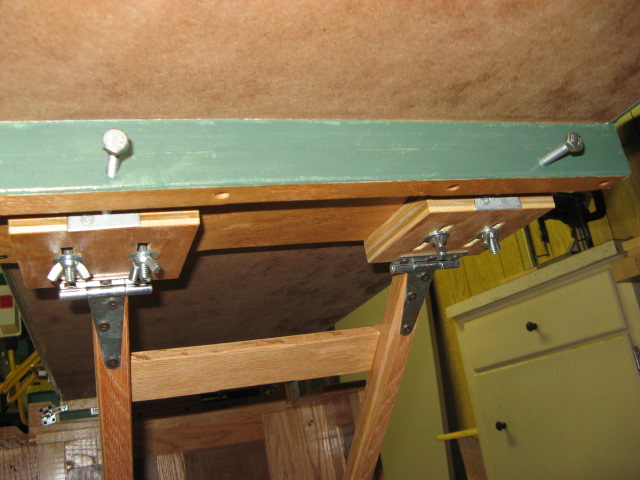 Here's a closer look at the toggle clamps that lock the table against the planer. The height adjustment bolt is also visible underneath. 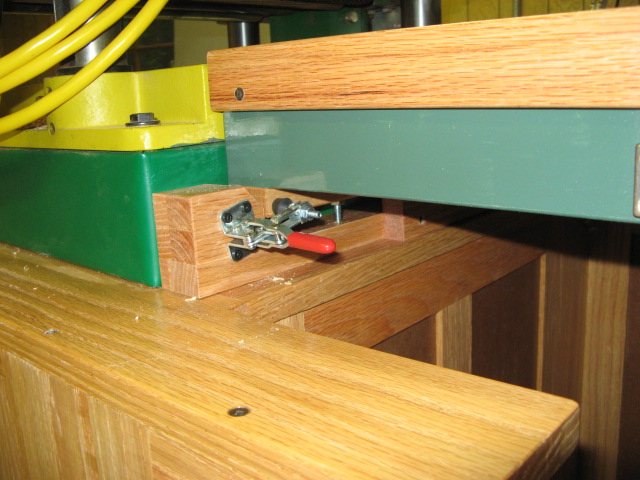 My final step was to add a drawer in the storage area to catch shavings that fall through the planer bed: 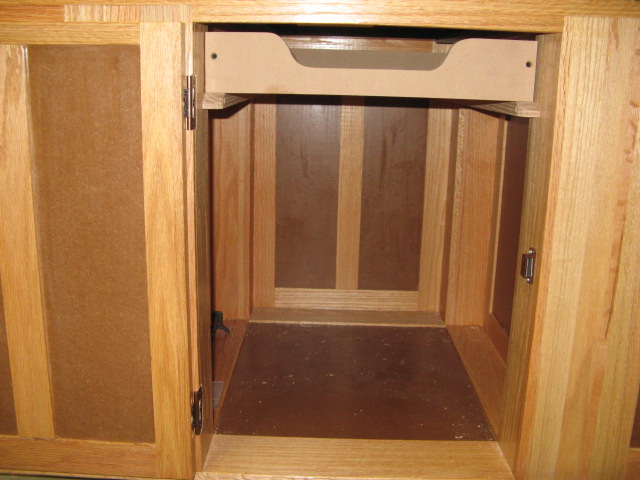 Well, that's the end of the project. I hope it has inspired you to build one, too! |
