Mobile
Base for 15" Planer
Mobile Base for 15" Planer, part 2 - building the base
Lumber selection and prep
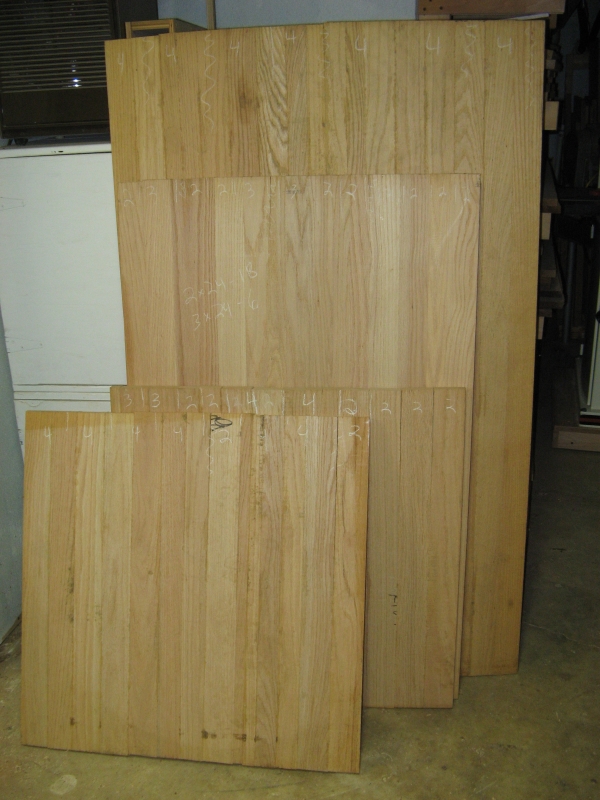
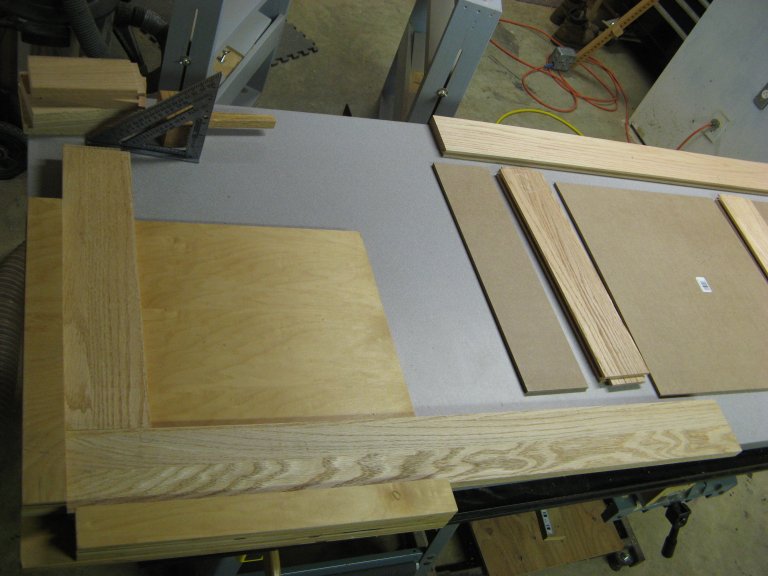
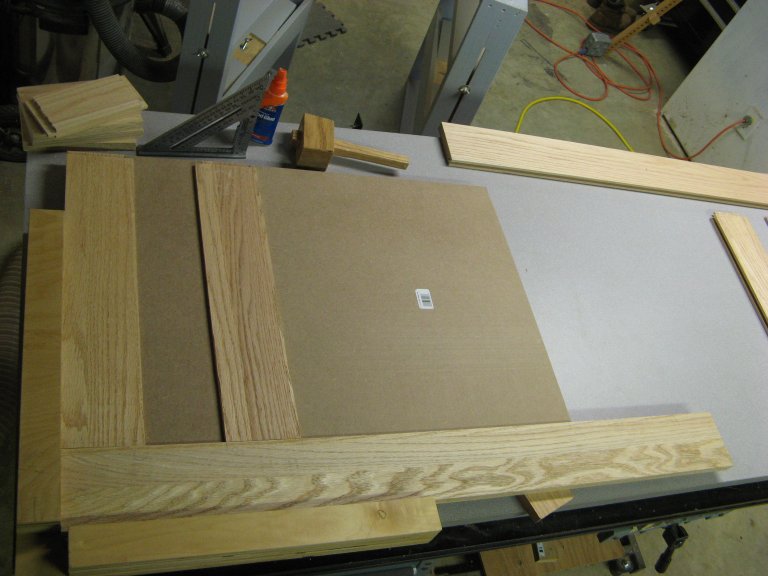
The first step was lumber selection. This was pretty easy for this
project, I just grabbed some of my
big stash
of oak panels and started making measurements. Watching David Marks on
Woodworks taught me to use chalk to label the lumber during the initial
stages - you can see some of the markings on the 4 panels I started
with:
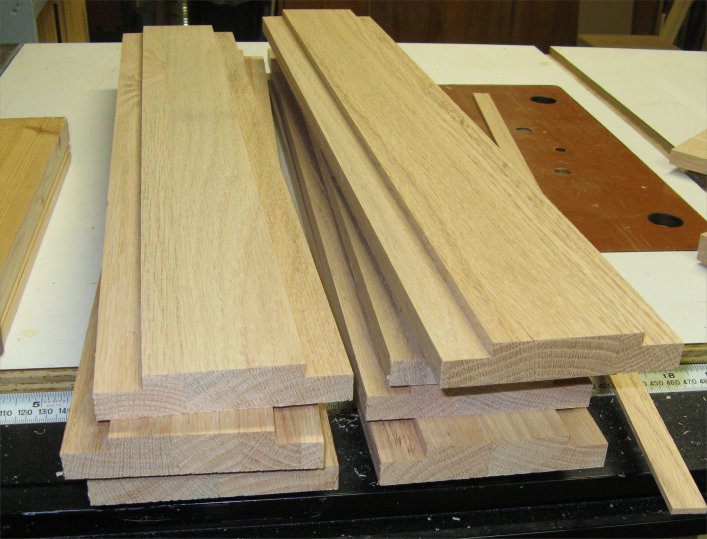
Everything
was first ripped to smaller widths and then planed to 3/4". I've found
that having stock that isn't all exactly the same thickness can lead to
some surprisingly large errors later in the project, so I now attempt
to prep all the stock at once. I send everything through the planer for
the final pass without making changes to the planer height.
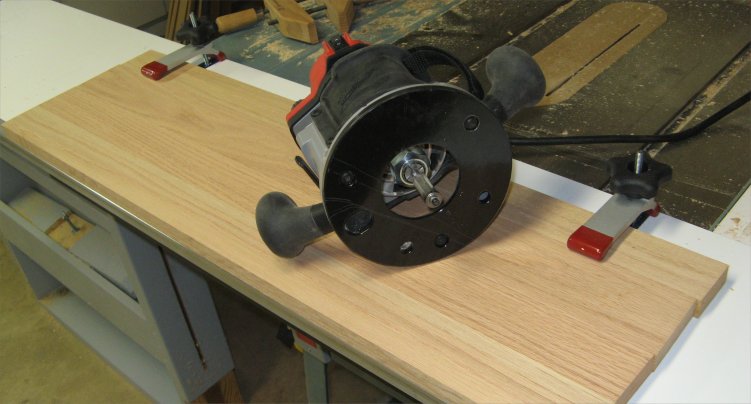
After
the stock is all surfaced on two sides, I edge-jointed one side of each
board. I recently sold my jointer (a Delta 37-190) because I found that
(1) it didn't work any better than this router joining jig on small
peices and (2) did not work at all on really long boards due to the
short bed (46"). Here is the router jig I use, basically a long
straight board (MDF shelf) with an aluminum angle on one edge. A
bearing-guided straight bit rides on the straightedge and the board is
clamped to the jig. I can joint 8' boards on this in one pass with
pretty good
accuracy. It takes up a lot less space then my jointer did, too!
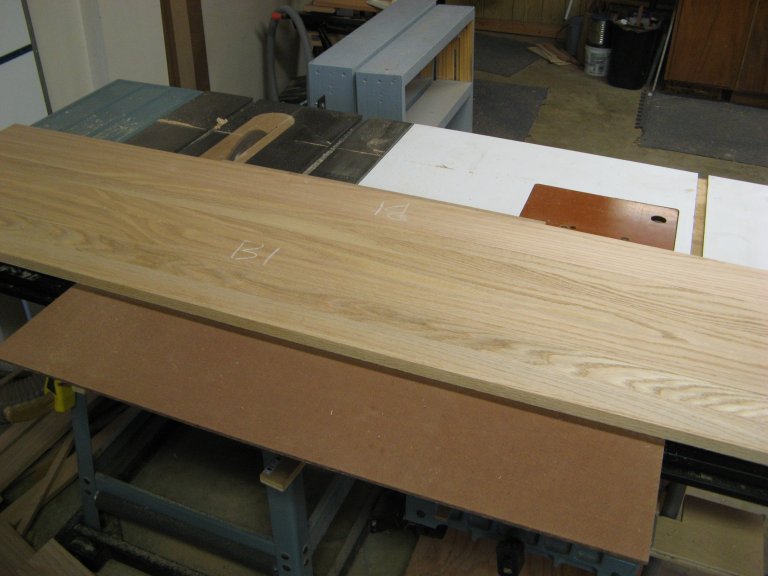
After getting one straight edge on all the stock, I ripped everything
to width:
Now
it is time to cut the parts to length. Another trick I've picked up to
help with project accuracy is to identify parts that need to be
exactly the same length and cut them using the same setting on the
cut-off sled. These boards were too long for the stop on my sled, so I
simply cut them all together to ensure identical length:
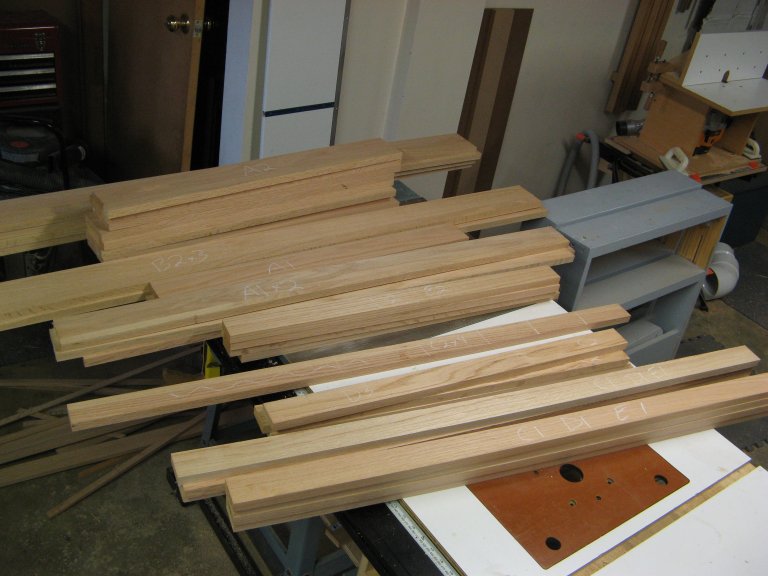
After everything is cut and labeled, most of the parts for the stand
are ready:

Legs
Technically,
they aren't legs - they are part of the sides of the cabinet, but since
they are designed to transmit the weight of the planer directly down to
the casters, I'm calling them legs anyway. The
legs will be supporting a 375 lb machine, so I wanted them sturdy. They
are pretty beefy...I think I have erred on the
side of caution.
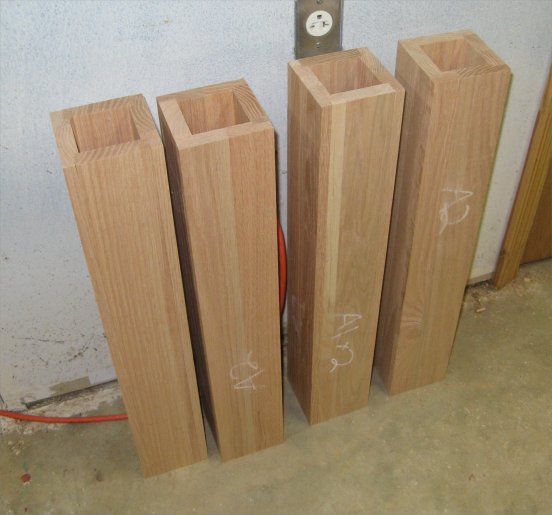
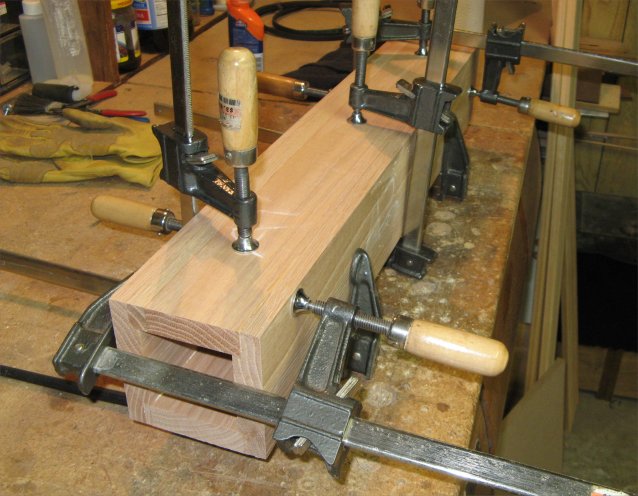
Each corner is supported by a hollow 4" square post
made from 4 smaller boards. Two are 4" wide and the other two are 3"
wide - joined with rabbets and glue. I chose to cut these rabbets
on the table saw, primarily for speed. First I cut the short side (2
rabbets in each
of the wider boards):
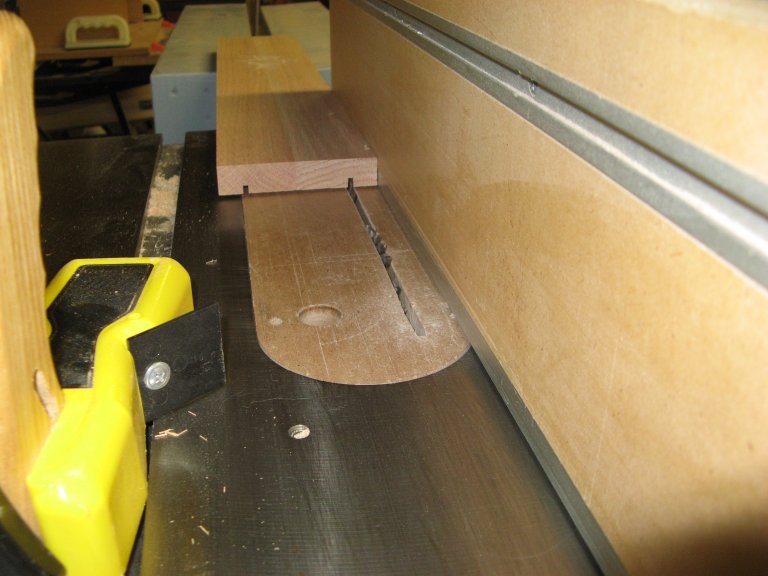
Then the long side of the rabbet:
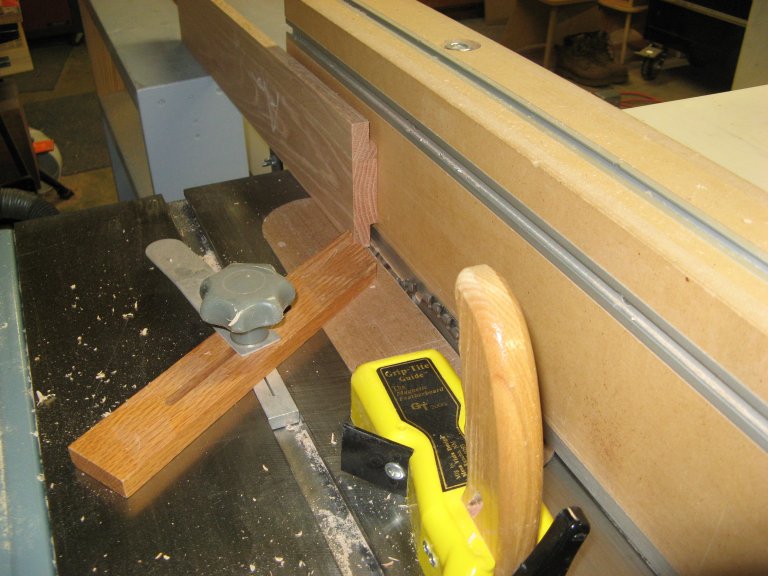
Half of the leg parts are now rabbeted:
The parts are now ready for glue-up. I
almost
designed the legs with a single rabbet in each of the 4 boards. My
thought was for all the parts to be the same. Then I realized the
glue-up would be much easier this way.
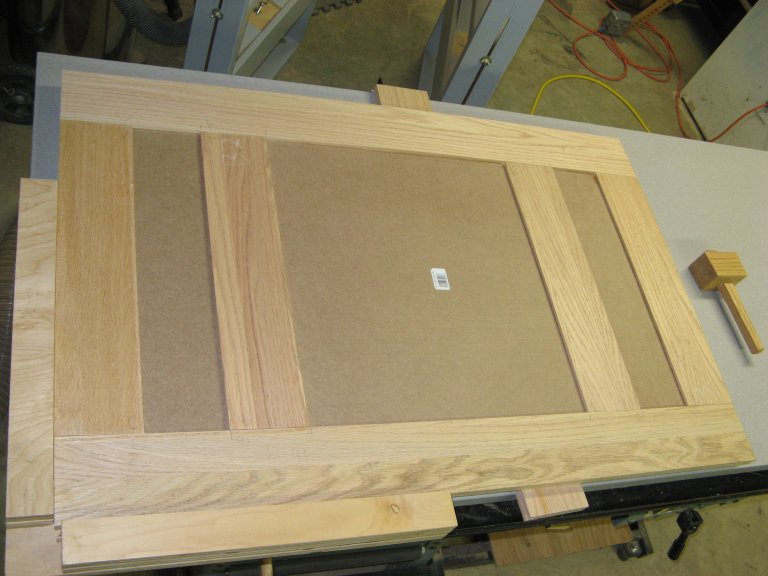
Top and bottom frames
I
choose stub-tenon and groove construction for the panels, since it is
quick and easy on the table saw / router table and quite strong when
the joints fit correctly. I started with the top and bottom frames and
then test-fit the top and bottom panels with the main support
legs.
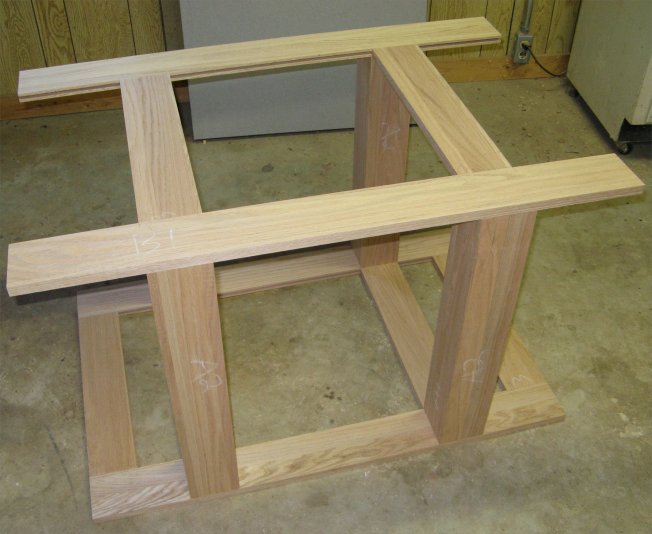
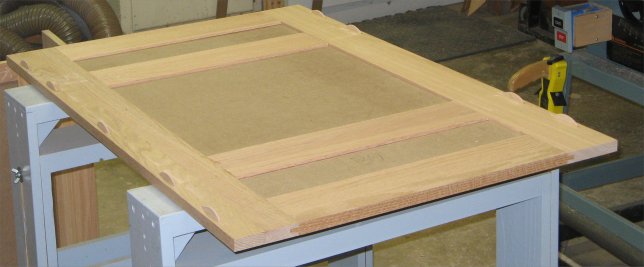
I assembled the top panel first, since it is very simple:
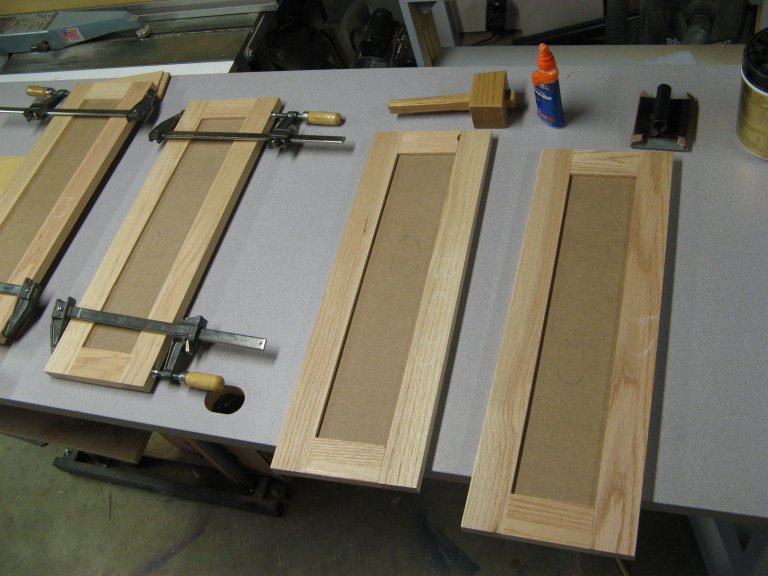
Next
came the bottom panel...which is probably the most complex glue-up I've
ever done. The panels are MDF and do not float - they are glued at each
edge to increase rigidity. To keep it square, I start the first corner
in my corner-clamping guide and then work my way to the other end.
Here's a few of the steps:
Then, after more stub-tenon and grooving at the table saw and router
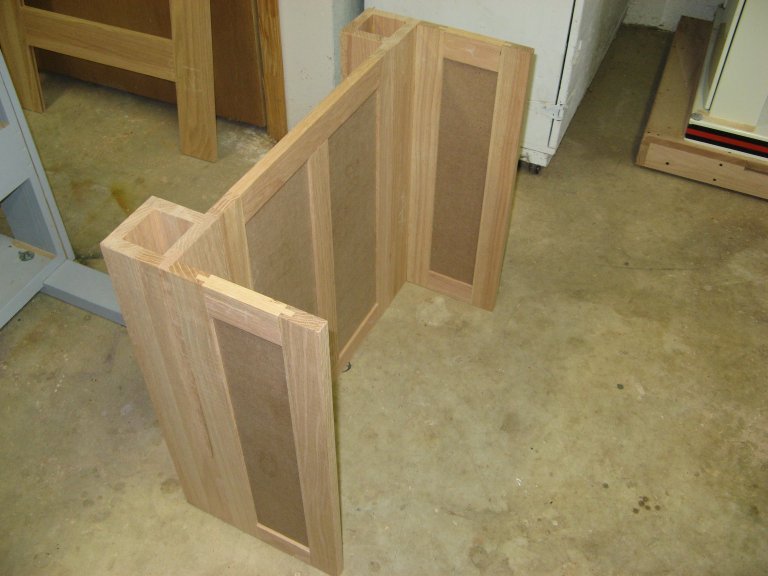
tables, I was ready to assemble the side panels:
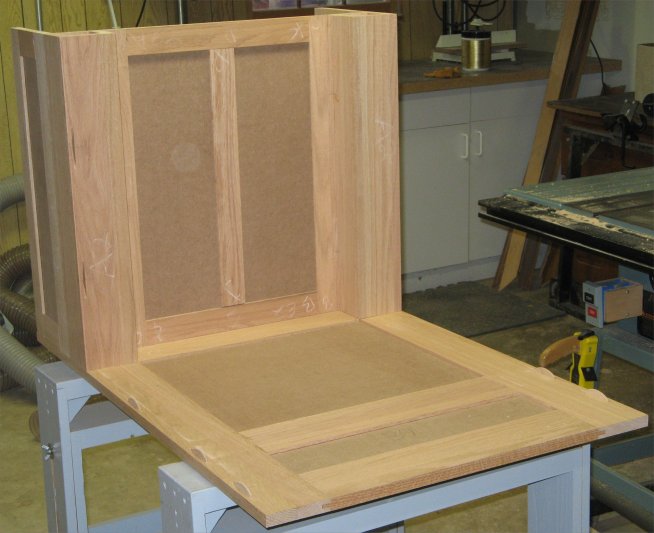
Next I assembled each end of the stand sides into this
odd-looking assembly:
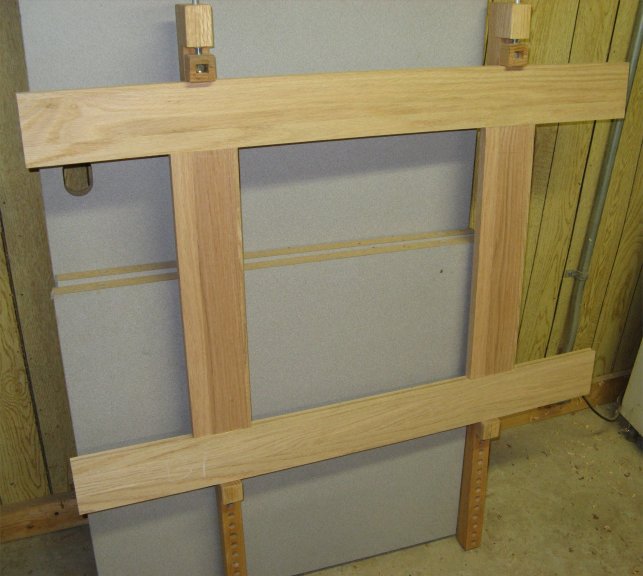
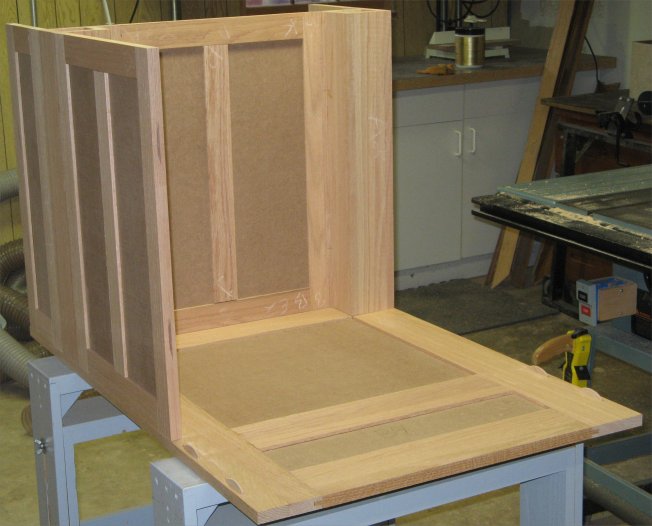
After
many trial-assemblies and fine-tuning of the panels to fit together
straight and square, I was ready for the final assembly. In preparation
for final assembly of the cabinet you can see biscuits and slots that I
used to help keep the parts aligned correctly during the glue-up:
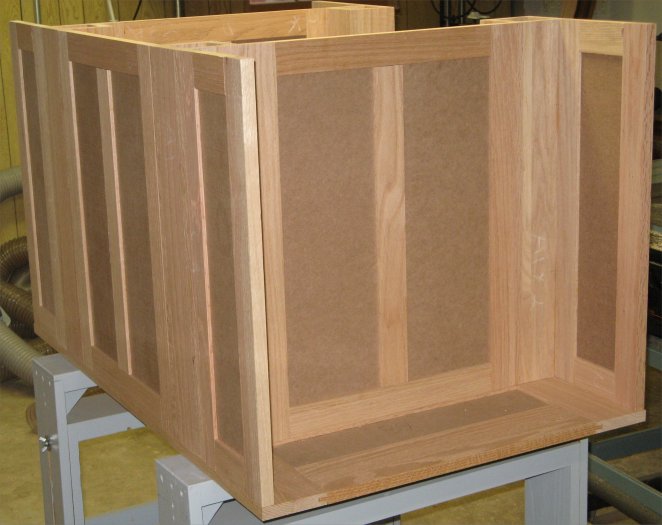
Here is the first end assembly in place:
Then the back side panel:
and the other end assembly:
then some creative use of clamps:
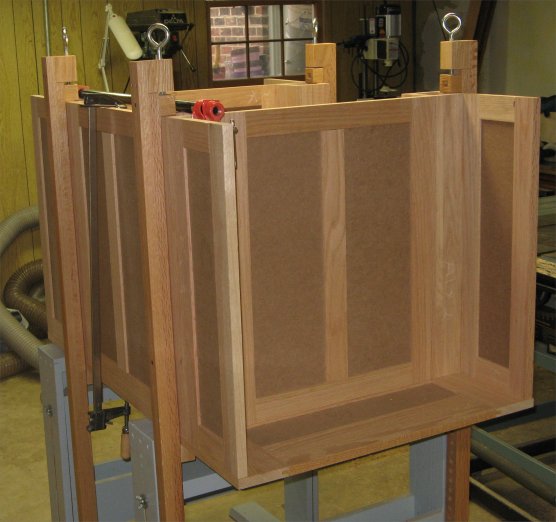
Last, the top frame is added:
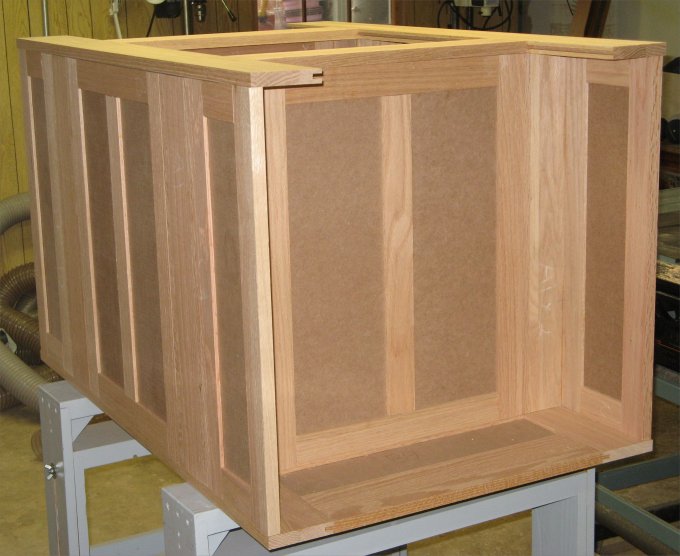
After
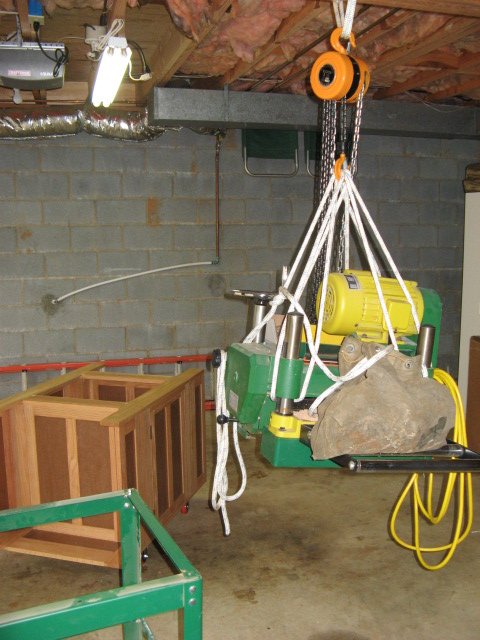
some trimming, sanding, finish and hardware, the stand is ready to add
the planer. Transferring a 375lb machine from one stand to another, by
myself, was considerably easier than I anticipated...with a little help
from a 1-ton chain hoist:
After bolting it down, I now have a usable mobile base...though without
the infeed/outfeed tables I desire.
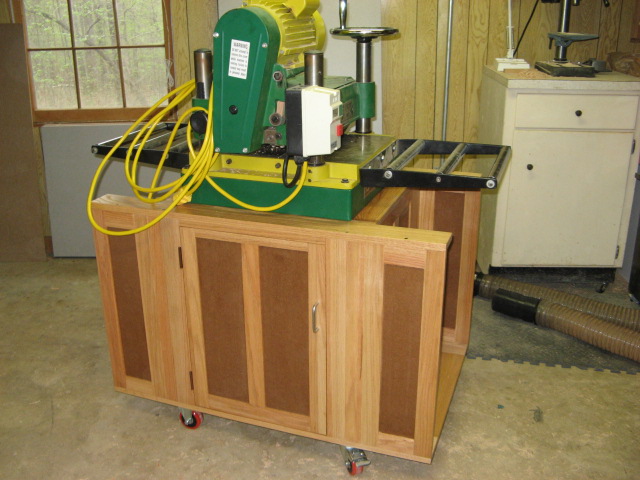
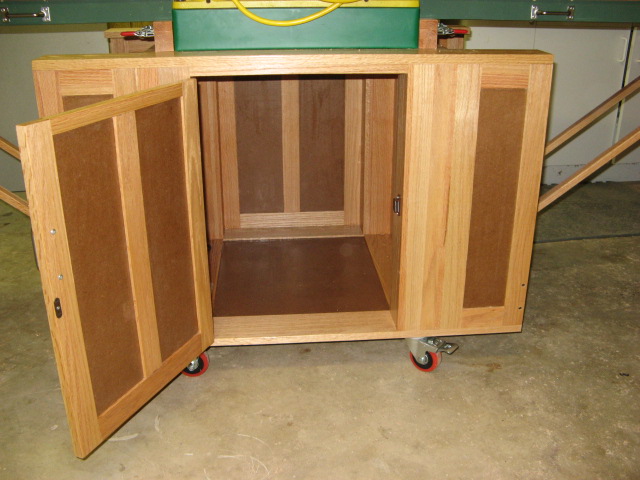
The door provides access to spacious storage:
Continue on to the
next page
for
construction of the infeed/outfeed tables.
