| topics |
| back to shop |
| home |
| |
| shop: Porter Cable Compressor & Brad Nailer | |||||||||||
|
Review: Porter Cable Compressor & Brad Nailer
Saturday July 12th, 2003
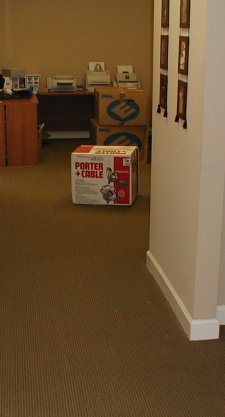
Well, I made it through the day with the box unopened. Minutes before leaving the office, I opened the box to find that it does include 1000 brads. Good...one less stop to delay arrival in the workshop :) Once there, the evaulation can begin!
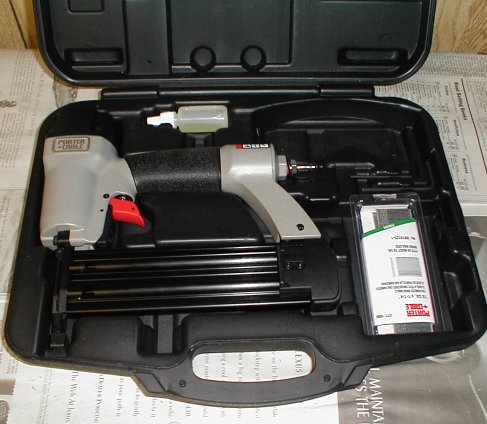
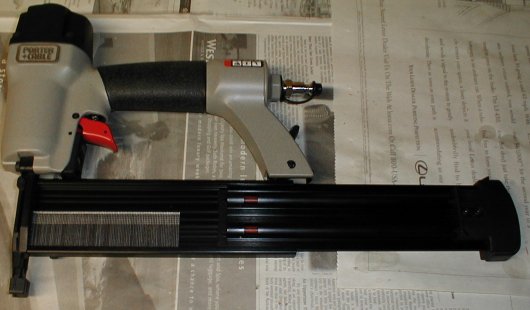
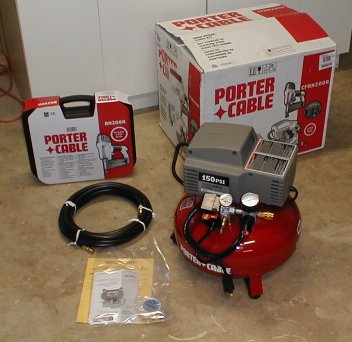
This is the kit being reviewed. I recently came into possesion of this tool set compliments of The Spalted Board. Visit the site to find out how you can win! Porter Cable CFBN 125A 18 GA. Brad Nailer and 2HP, 6 Gallon Pancake Air Compressor Combo Pack
 Setup Setup is pretty straigthforward and well described in the manual. The compressor requires a 15-minute break-in period - which provides plenty of time to thoroughly read the manual for both the compressor and the nailer. A good idea if, like me, you have never owned or used either of these machines. The break-in requirement is labeled in at least 3 places...including the power cord. Hard for anyone to miss.
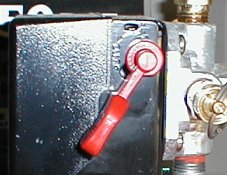
After the break-in (which is best suffered with hearing protection), it's time to hook everything up. It is here that my second complaint arises. There are absolutely no instructions on how to hookup the hose and two quick-release adapters. That is fine if you have ever used a compressor before. But not for a beginner...and I would assume that many purchasers of a combination nail gun and compressor package will be first-time users. Granted, it's not that hard to figure out...but what about this roll of white plastic tape (teflon tape)? Having done some plumbing work, I'll assume it is meant to seal the threads on the fittings...but how much? Once around? Twice? A few words of instruction here would have made me feel much better. Ok, now on to the good stuff! With a hose attached to the compressor and the nail gun, I closed the relief valve and turned the compressor back on. While the tank is filling, I need to adjust the pressure regulator to the correct pressure for the gun. It is rated for 70-120psi, so I will split the difference: 95. The regulator is adjusted by turning the black knob under the right pressure guage. There are two guages - one for the tank pressure and one for the pressure coming out of the regulator (the pressure to the tool).
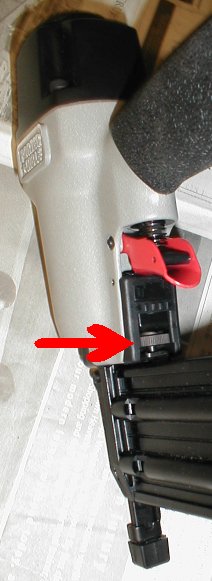
The brads that came with the gun are 1 1/4". The gun can handle brads up to 2" in length. There is no problem driving all 1 1/4" of the brad into oak. In fact, when adjusted for maximum depth, the brads are driven about 1/16" below the surface. When adjusted for mininmum depth, it leaves the brad protruding about 1/8" above the surface. Since the compressor is rather loud, I was curious how often it would run when I'm in the shop. After letting the compressor fill the tank to its 150psi capacity, I nailed a board continuously until the compressor cycled again. In 2 tests, I averaged 45 nails between compressor cycles. Incidentally, this experiment made me much more comfortable with the feel of the gun - I recommend all beginners try a similar exercise. This kit is a great way to get started with air tools. The gun seems to have pleny of power for small assembly and finish-nailing tasks. It includes everything needed to get started (the gun comes in it's own case to keep it safe and clean). I'm sure it will become an integral part of my workshop. I can already think of a half-dozen other tasks that will be easier with compressed air available. |